How To Draw A Bow: Your Easy Guide To Beautiful Sketches Today
Do you want to add a charming touch to your artwork? Perhaps you are looking to doodle bows in a notebook to channel the coquette aesthetic, or maybe you want to put a cute bow on a character you're drawing. It could be you need to sketch a bow onto a drawing of a present. Well, you've come to the right spot, because we've got you covered.
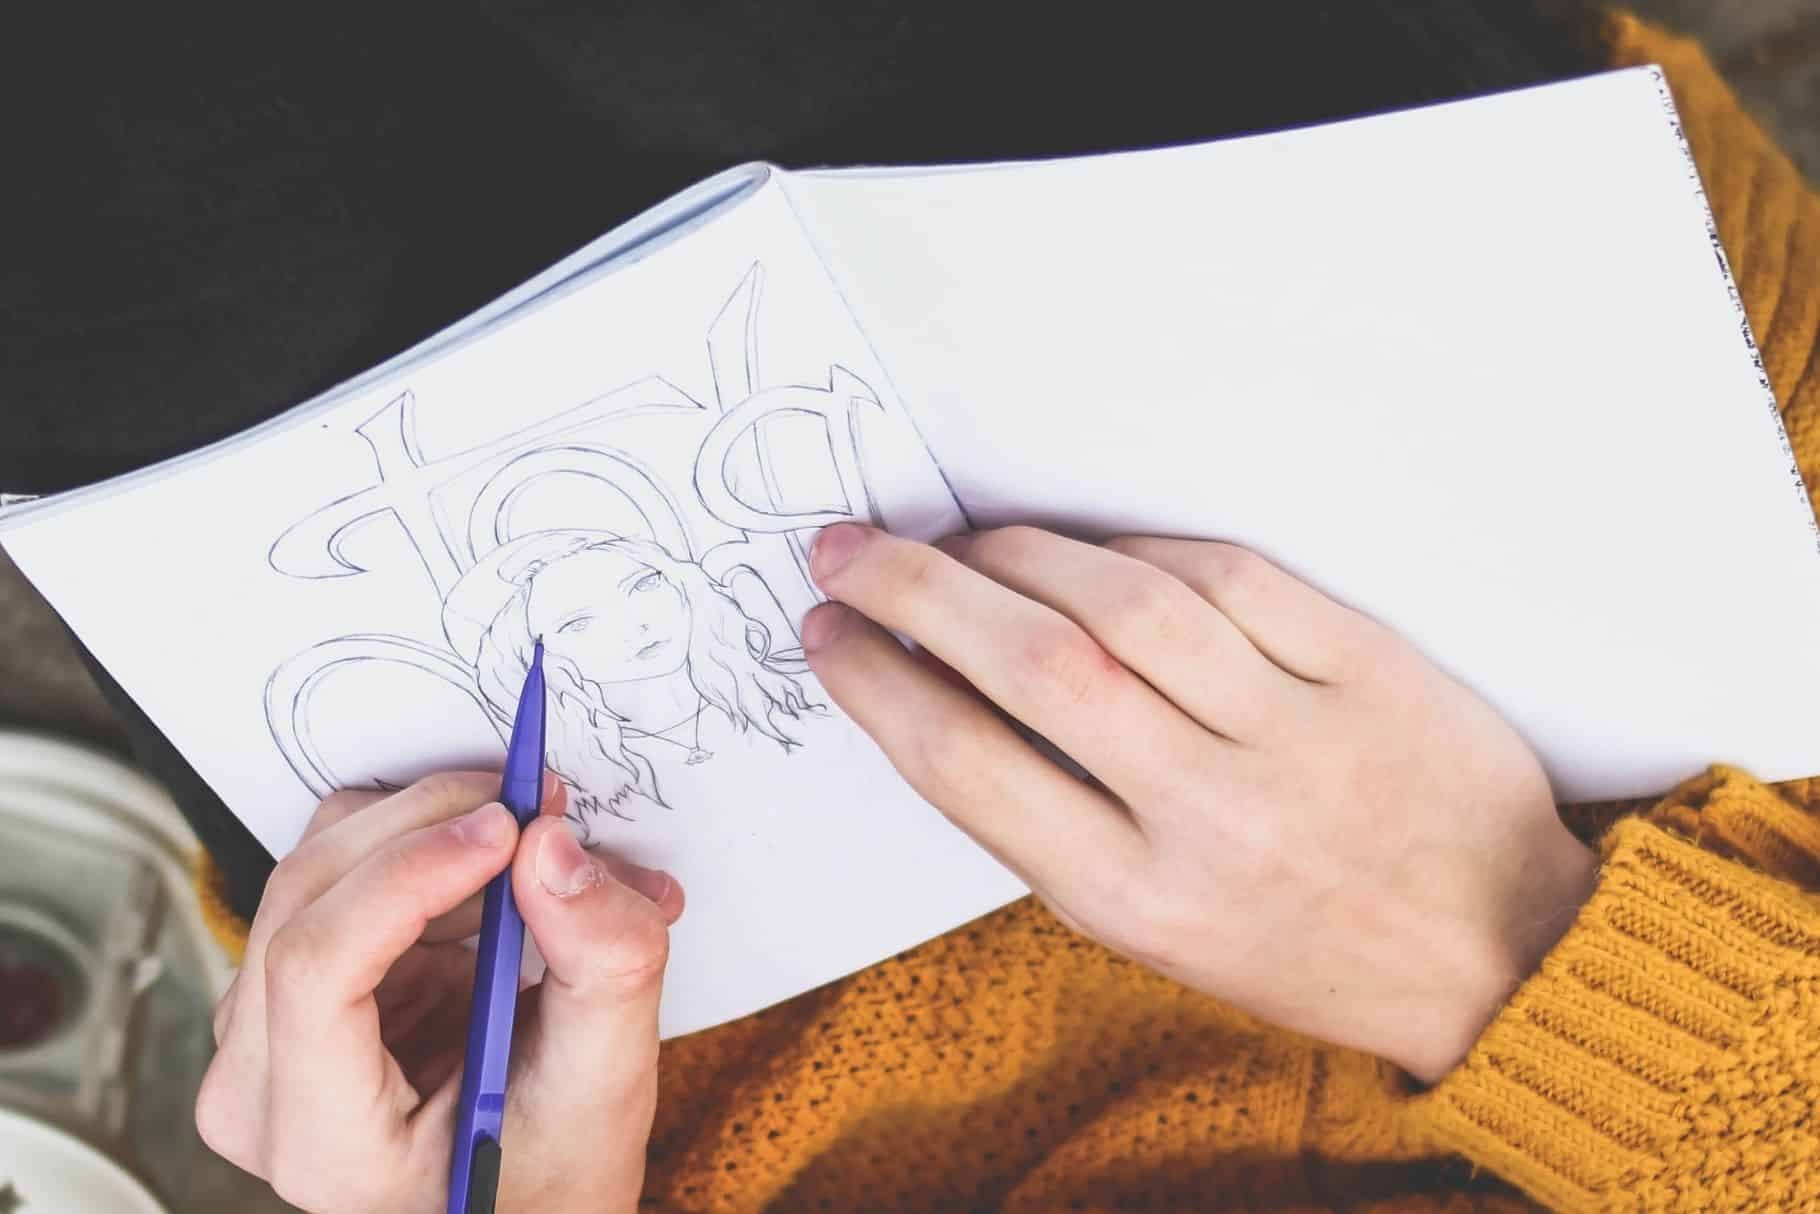
Learning how to draw a bow, you know, like the fabric and ribbon ones that adorn gifts, hair, and clothing, is a really fun skill to pick up. It might seem a bit tricky at first, but with the right approach, you can certainly make a detailed and realistic illustration. This guide will show you how to draw a bow step by step, making art a very enjoyable experience for everyone, even if you are just starting out.
Whether you are an aspiring artist or someone who already draws a lot, getting good at drawing a bow adds a unique skill to your creative toolkit. We'll show you step by step how to draw different bows that you can add to your artwork, so you can really improve your bow drawing skills now. In this guide, you will learn the basics of making these lovely shapes come to life on paper, and it's actually pretty simple.
- Who Is Miranda Rae Mayo Partner Her
- Matthew Cassina Dies In Burlington Motorcycle Accident
- Kathy Griffin S Husband Was An Unflinching
- Has Claire Mccaskill Had Plastic Surgery To
- Truth About Nadine Caridi Jordan Belfort S
Table of Contents
- Getting Started with Your Drawing Adventure
- Understanding Different Bow Shapes
- Drawing a Bow and Arrow: A Historical Touch
- The Archery Bow: A Deeper Look
- Tips for Making Your Bows Shine
- Free Resources to Help You Learn
- Frequently Asked Questions About Drawing Bows
Getting Started with Your Drawing Adventure
Before we start sketching, it's good to get your materials ready. Drawing a bow can be a really fun and rewarding experience, whether you're just starting out or simply looking for a new hobby. This guide will walk you through the basics of drawing different types of bows, so you can make some pretty cool art.
Basic Tools You'll Need
To get going, you don't need much, which is great. You'll want a pencil, that's really important for sketching out your ideas. A black pen can be nice for going over your lines once you're happy with them, giving your drawing a finished look. And, of course, color pencils are wonderful for adding life and vibrancy to your bows. So, just grab your pencil and paper, and let's get started on creating a beautiful bow drawing together.
Why Draw Bows? More Than Just a Pretty Shape
You might wonder why bows are such a popular thing to draw. Well, they are very versatile, you know. As an artist, drawing a bow is super fun because you get to play around with different shapes, lines, and sizes. Whether you want to doodle bows in a notebook to channel the coquette aesthetic, add a cute bow to a character, or sketch a bow onto a drawing of a present, we’ve got you. It's easy to draw a bow like the fabric and ribbon ones that adorn gifts, hair, and clothing, and they add a nice touch to so many things.
- David Foster Net Worth From Grammy Winning
- Thomas Lineberger Aberdeen Nc Famous Internal Medicine
- Malachi Barton S Dating Life Girlfriend Rumors
- Janice Huff And Husband Warren Dowdy Had
- Najiba Faiz Video Leaked On Telegram New
Understanding Different Bow Shapes
Bows come in many forms, each with its own charm and purpose. We'll learn how to draw a bow in several different styles, so you can pick the one that fits what you want to create. You'll see step by step how to draw different bows that you can add to your artwork, making your pieces more interesting.
The Classic Ribbon Bow: A Gift-Ready Look
The ribbon bow is probably what most people think of first, you know, the kind you see on presents. To draw a ribbon bow step by step with this simple guide, you can start by making two gentle loops. These loops will form the main parts of your bow. Then, you'll want to add the knot in the middle, which holds those loops together, and finally, the trailing ends of the ribbon. Use this tutorial to learn how to draw a ribbon and a bow that looks like it's tied with real fabric, so it's quite simple.
When you are making the loops, think about how real ribbon folds. It's not perfectly flat, you see. There will be some curves and overlaps. The ends of the ribbon can be cut straight, or perhaps, for a bit of flair, they could be notched or pointed. This kind of bow is perfect for adding to a drawing of a gift, or maybe even as a hair accessory on a cartoon character. It's a very common and pretty shape.
For beginners, following simple instructions to create a beautiful and detailed bow drawing is quite easy with this type. You'll want to sketch lightly at first, just to get the basic shape down. Then, as you get more confident, you can press a bit harder with your pencil. Remember, the goal is to make it look like a soft piece of fabric, so avoid really harsh, straight lines unless you are going for a very stiff look.
Cute Cartoon Bows: Fun and Playful
Learning how to draw a cartoon bow is a lot of fun because you can really play with the shapes and make them super cute. These bows often have bigger, rounder loops and a simpler knot. They don't always need to look perfectly realistic; sometimes, a bit of exaggeration makes them even better. You can add them to little animals, or maybe even on a drawing of a toy. They bring a happy, light feeling to any picture, you know.
When you draw a cartoon bow, think about what kind of personality you want it to have. Is it a bouncy bow? A floppy one? The lines can be a bit more fluid and less strict than a realistic ribbon bow. You might even add some little dots or stripes to make it more playful. This style is perfect for kids and beginners, this drawing lesson makes art fun, so give it a try.
Festive Christmas Bows: Spreading Holiday Cheer
Christmas bows are usually quite full and lush, often with many loops and long, flowing tails. Hi buddy! My name is Gufo 🦉 and I love drawing ️! In this video, I will show you how to draw a Christmas bow step by step 🎀, so have fun with it. These bows are perfect for adding to holiday decorations, gift boxes, or even a festive character. They often come in traditional holiday colors like red, green, or gold, you know.
To make a Christmas bow look really festive, you can add more layers of loops, making it look very fluffy and grand. Think about how a big bow on a wreath looks. You can also add some texture, like little bumps or lines, to suggest a velvet or satin ribbon. These bows really make a drawing feel special and celebratory, so they are quite popular during the holiday season.
Elegant Coquette Style Bows: A Touch of Whimsy
The coquette aesthetic often uses bows that are delicate and pretty, sometimes a bit understated but always charming. Whether you want to doodle bows in a notebook to channel the coquette, these bows are usually smaller, with softer lines and a very graceful appearance. They might be placed on hair, clothing, or even as a small detail on a piece of furniture in a drawing, you know.
When drawing a coquette bow, focus on gentle curves and a sense of lightness. The ribbon might look very flowy, almost as if it's dancing in a gentle breeze. You can make the ends long and wispy, or perhaps tied into a very neat, small knot. These bows add a touch of sweet elegance to your drawings, and they are quite popular right now, too it's almost everywhere.
Drawing a Bow and Arrow: A Historical Touch
Beyond the decorative fabric bows, there's also the bow and arrow, a really iconic weapon throughout history, from ancient warriors to legendary heroes. Learning how to draw a bow and arrow step by step can be a fascinating artistic journey. In this drawing tutorial, you will learn how to draw a bow step by step, which includes the arrow as well. This lesson consists of nine steps, making it easy to follow along.
Basic Components of a Bow and Arrow
To start, you'll want to get the main parts of the bow. This includes the riser, which is the handle part, and the limbs, which are the flexible parts that store energy. Then, of course, there's the string, which connects the limbs. For the arrow, you'll draw a long, straight shaft, a pointy tip, and feathers at the back to help it fly straight. Understanding these basic pieces is key to making a believable drawing, you know.
Adding Details to Your Bow and Arrow
Once you have the basic shapes, you can add more details to make your bow and arrow look more realistic. Think about the texture of the wood or composite materials used in the bow. You might add some grip details on the handle, or perhaps some markings on the limbs. For the arrow, you can add fletching details to the feathers and even some nocking points on the string. These small touches really bring the drawing to life, you know, making it look very authentic.
The Archery Bow: A Deeper Look
Drawing an archery bow can be a bit different from drawing a decorative one, as it focuses on function and form. In this guide, we’ll walk you through the basics of drawing different types of bows—from archery bows to ribbon bows. You'll learn the basics of drawing, and then move on to using a bow for hunting, archery, and more! This is a really practical skill for artists who want to portray action or historical scenes, so it's good to know.
Understanding the Form: Drawing the Bow in Archery
The shot cycle drawing the bow is one of the most intuitive steps of the archery shot cycle. When you draw an archery bow, you're often showing it in action, pulled back and ready to shoot. This means thinking about the tension in the string and the curve of the limbs. There's a concept in archery about how to draw a bow to "save your shoulders," which means using your back muscles more. While you won't literally be drawing the bow with your back on paper, understanding this idea helps you capture the feeling of power and tension in your drawing. To master the entire archery technique, make sure to check out the other articles too, like "How to shoot a bow (an overview) step 1" on our site, which is quite helpful.
Sketching an Archery Bow
When sketching an archery bow, pay attention to the angles and the way the string is pulled back. The limbs will flex, so they won't be straight. You might even show the arrow nocked on the string, ready to fly. Think about the different types, like a longbow, recurve bow, or compound bow, as they all have slightly different shapes. Regardless of if you are an emergent artist, getting these details right makes your drawing much more believable, you know.
Tips for Making Your Bows Shine
Once you've got the basic shapes down, there are some extra steps you can take to make your bow drawings look really special. These tips will help you add depth, personality, and a finished feel to your artwork, so they are quite useful.
Adding Depth with Shadows
If you add shadows in the right places, it can start to look pretty realistic, you know. Shadows are what make a flat drawing look three-dimensional. Think about where the light source is coming from. Areas that are tucked away, like under the loops of a ribbon bow or where the string meets the limb of an archery bow, will be darker. Use lighter pressure with your pencil for soft shadows and more pressure for deeper, darker ones. This really helps your bow pop off the page, making it look very real.
Playing with Lines and Shapes
As an artist, drawing a bow is super fun because you get to play around with different shapes, lines, and sizes. Don't be afraid to experiment! Maybe one bow has very sharp, crisp lines, while another has soft, flowing ones. You can make the loops big and dramatic, or small and dainty. The shape of the ribbon ends can also change the whole feel of the bow. Trying out different line weights—some thick, some thin—can also add interest and definition to your drawing, you know.
Coloring Your Creations
Using color pencils can really bring your bows to life. Think about the material of the bow. Is it a shiny satin ribbon? A rough, textured fabric? Or perhaps a smooth, polished wood for an archery bow? The way you apply color can suggest these textures. You can also use different shades of the same color to create more depth and dimension, so it's quite an enjoyable step. Remember, colors can convey mood, too, so choose them wisely.
Practice Makes Perfect
Drawing a bow can seem challenging at first, but with the right approach, you can create a detailed and realistic illustration. The more you draw, the better you'll get, that's just how it works. Don't worry if your first few tries aren't exactly what you imagined. Every drawing is a step forward in your learning journey. Keep practicing different styles, different angles, and different details. Soon, you'll be drawing beautiful bows with ease, you know, and it will feel very natural.
Free Resources to Help You Learn
To help you on your artistic path, there are some great tools available. These resources are designed to make learning even easier and more fun, especially for beginners.
Printable Guides for Practice
This guide includes free printable guides and coloring ideas, which are really helpful. You can print these out and trace over them, or use them as a reference while you draw. They give you a solid starting point and help you understand the basic shapes and proportions. It's a great way to build muscle memory and get comfortable with the process, so you can make your own unique bows later.
More Drawing Lessons
If you enjoy drawing bows, there are many other drawing lessons you might like. For example, you can learn how to draw a cartoon, coquette, or Christmas bow, it's easy to draw a bow like the fabric and ribbon ones that adorn gifts, hair, and clothing. You can also explore other topics to expand your skills. Check out more drawing tutorials for kids and beginners to keep your artistic journey going. You might also find helpful information about drawing other things, like perhaps a lovely flower, over on Art for Kids Hub, which is a great place for more drawing ideas.
Frequently Asked Questions About Drawing Bows
How do you draw a simple bow?
To draw a simple bow, you typically start with a small circle or oval for the knot in the middle. Then, you draw two curved, almost tear-drop shapes extending outwards from the knot for the loops of the bow. Finally, add two trailing ribbon ends hanging down from the knot. Keep your lines light at first, then make them darker once you are happy with the shape, so it's quite straightforward.
What is the easiest way to draw a bow?
The easiest way to draw a bow, especially for beginners, is to focus on simple shapes. Think of it as a butterfly shape with a circle in the middle. You can draw a small circle for the center, then two rounded, ear-like shapes for the loops, and two straight or slightly wavy lines for the tails. This method simplifies the folds and curves, making it very approachable, you know.
How do you draw a bow and arrow for beginners?
For beginners, drawing a bow and arrow starts with the basic shapes. Draw a long, slightly curved line for the main body of the bow. Add a straight line for the string connecting the ends of the bow. For the arrow, draw a straight line for the shaft, a small triangle for the arrowhead, and some small rectangles or triangles at the back for the fletching. This gives you a good foundation to build upon, and you can learn more about drawing weapons on our site, which is helpful.
So, there you have it! Whether you want to doodle bows in a notebook to channel the coquette aesthetic, add a cute bow to a character, or sketch a bow onto a drawing of a present, you now have the tools. You've learned how to draw a bow in several different styles, and you've seen step by step how to draw different bows that you can add to your artwork. Remember, perfect for beginners, follow simple instructions to create a beautiful and detailed bow drawing. Keep practicing, and you'll be making wonderful bow drawings in no time!
- Claudia Sampedro Wags Miami Age Engaged Husband
- Wwe Billy Graham Illness Before Death Was
- Is Max Muncy Christian Or Jewish Religion
- How To Make Water Breathing Potion In
- Who Is Hunter Brody What Happened To

Learn How to Draw in these FREE Expert Instructions - Artists Network
5 Tips to Drawing People for Beginners | by Jae Johns | Medium

Drawing For Beginners The Complete Step By Step Beginners Guide
